Subaru HDR Photography
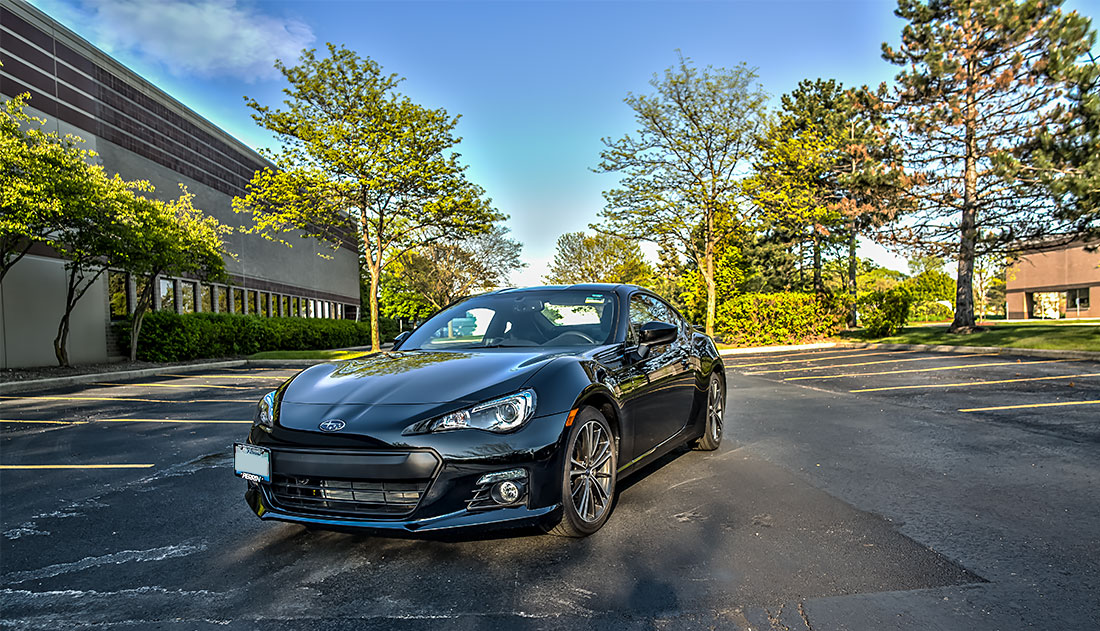
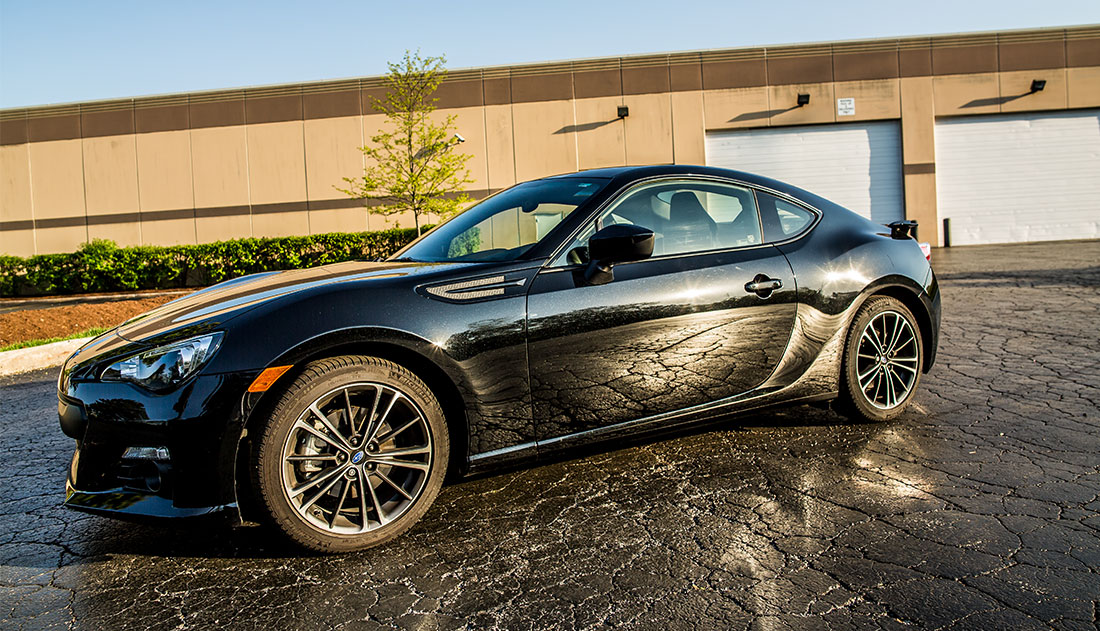
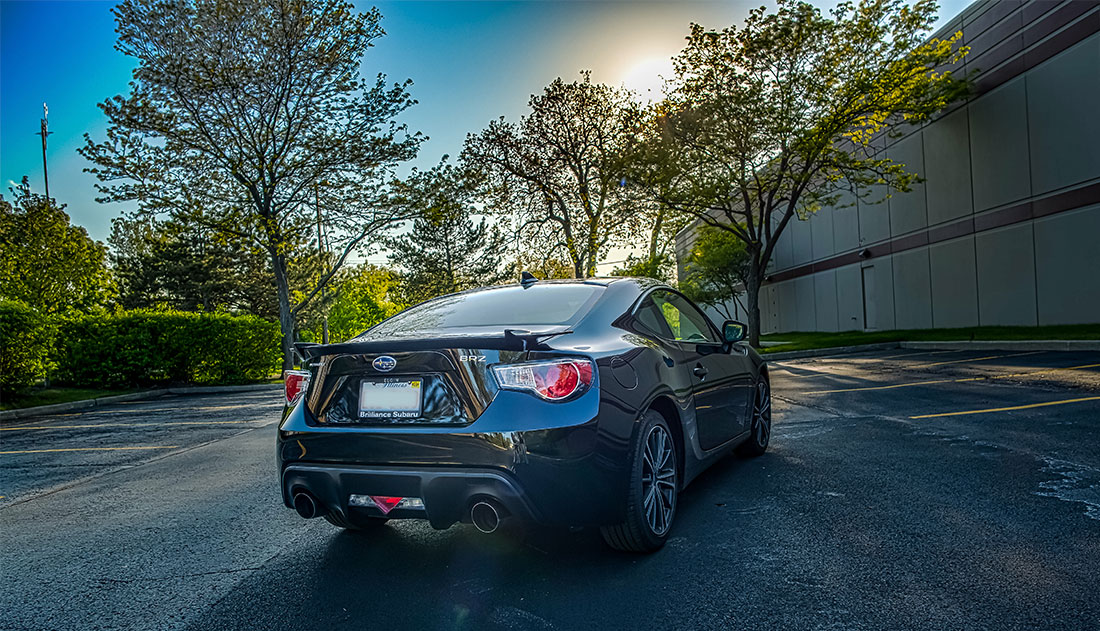
My husband is a Youtube Creator and has his own channel. I help him film videos when he can’t be behind the camera. The two of us were filming a video involving his 2015 Subaru BRZ. He wanted to wash it so it would be clean for the video. We finished filming early, and since it was so nice out, the golden hour sunlight was just beautiful, and his car was clean, we decided to take the opportunity to shoot some HDR (high dramatic range) photography.
We were using my 24 mm f 1/.8 wide angle lens for this shoot. I’ve always disliked that lens and could never really get it to perform like I wanted. I ended up giving it to Erik a long time ago. I didn’t even know we were using MY 24 mm during this shoot until after we were finished! Ironically I kept commenting to Erik how good of a job it was doing!
Anyway, you definitely want to use a wide angle lens for a shoot like this. The wide angle distorts the view of the car, giving your photo a more dramatic and epic look. Also, you are still getting a lot of the surrounding environment in the frame.
HDR is pretty commonplace nowadays. If you are an iPhone user, you have the option to have your phone automatically take “HDR” photos for you. With HDR photography you are aiming to create a photo that retains all the detail that your eye is seeing – from the shadows, highlights, and mid-ground. Our camera only records so many details, and our eyes capture millions of details that a camera will never be able to replicate.
The cool thing about HDR photography is that it lets you get a lot of those details back, creating an image closer to how it was perceived in real life. For instance, it was evening time, around the golden hour (1 hour or so before sunset), and the sun was bright. It was beautiful outside. But if I tried to photograph the car without using HDR, I would have either lost the sky by blowing it out in order to get more detail on the car, or lost the car to darkness trying to get the detail and blues of the sky.
How We Took the Photos
In order to get both the details in the highlights and the sky as well as in the shadows of the car, I had to take at least 3 images of the car at different exposures. This is where it helps to have an unmoving subject AND a tripod! This ensures you get the exact same image every time so they will line up perfectly in post production. The only exception to this in my particular photos are the trees. Because there was a slight breeze that day, the leaves were in slightly different positions for each shot. This distorts them just a little in the end result. When shooting, I usually start with the mid ground photo and exposure the image well enough that I could use it on it’s own if I wanted to. Then, by decreasing or increasing your shutter speed, you can let more or less light into the camera for the other two photos. It doesn’t matter which one you do first. It just matters that you keep track in your head of what you’ve just shot.
I started with a decently fast average shutter speed of 1/160 for my mid ground photo. When I wanted to capture the highlights, I decreased my shutter speed to 1/25 in order to let more light into my camera. When you decrease your shutter speed, you are keeping your shutter open for a longer period of time and thus letting more light into your camera. For capturing the details in the shadows, I did the opposite. I want to let less light in my camera, so I want a faster shutter speed that will let less light in. I got the result I wanted at 1/500, a very fast shutter speed that let a minimal amount of light in since it opened and closed the shutter so quickly.
Tweaking the Photo to Get the Look You Want
A lot of cameras nowadays have a built-in HDR feature that you can find in the menu. You can choose the increments you want in between each photo. You can also choose how many photos you want the camera to take. Usually HDR photography requires between 3 to 5 photos. Then you just press the shutter button and the camera does all the work for you. It also merges the photos together automatically in-camera within seconds to show you your result. I have played around with this feature and find it decent. However, personally I feel I have more control and creative liberty by combining them in Photoshop. Photoshop has a feature that merges your photos together to create an HDR photo. From there, there are many variables you can tweak in order to get the result you want.
I had a lot of fun trying something new and experimenting further with HDR photography! I would love to do this again sometime soon!
Xoxo
Lauren


